


我的荣耀 开启荣耀之旅

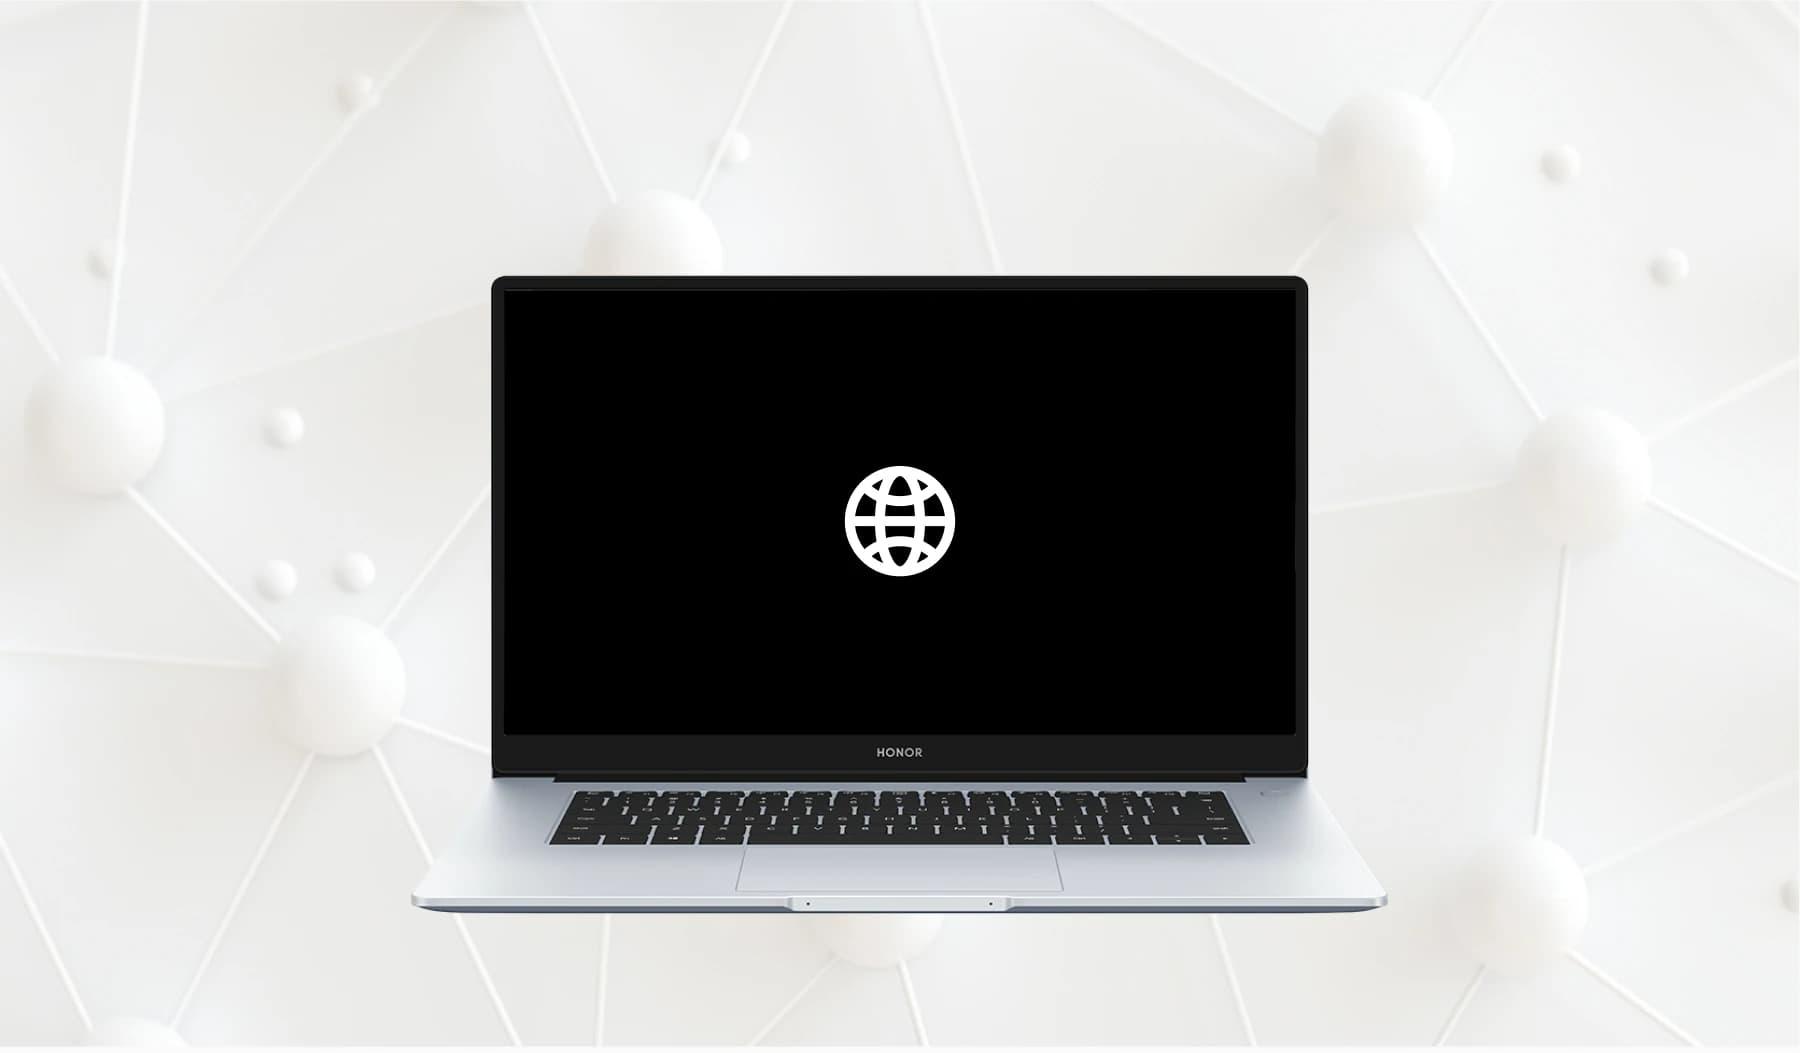
How to Connect Ethernet to Laptop Like a Pro?
Connecting an Ethernet cable to your laptop is a straightforward process that can significantly enhance your internet experience, offering a more stable and faster connection compared to wireless options. Whether you're immersed in critical video calls, intense gaming sessions, or managing data-heavy assignments, a wired connection guarantees minimal delays and a smooth online workflow. In this guide, we'll walk you through the steps on how to connect Ethernet cable to a laptop like a pro, ensuring you can enjoy a seamless, high-speed internet connection with minimal hassle.
What Is Ethernet?
Ethernet is an indispensable technology ingrained in local area networks (LANs) worldwide. Serving as the foundation for network communication, it sets the guidelines for the physical and data link layers of the OSI network model. Its role is to seamlessly facilitate communication between devices within a network by implementing a protocol that governs data transmission over wired connections, typically through twisted pair cables. Over time, Ethernet has evolved to meet the ever-growing demands of data transmission, boasting varying speeds such as 10/100/1000 Mbps (megabits per second) and 10 Gbps (gigabits per second). As the go-to choice for wired networking, Ethernet has become the gold standard for both home and business environments, guaranteeing reliability and efficiency.
How to Connect Your Ethernet Cable to Laptop?

Accessing an Ethernet cable to your laptop is vital for a reliable internet connection; it is straightforward and enhances your online experience. We'll provide a clear, step-by-step guide to ensure a successful setup.
Gathering the Essentials
Before connecting an Ethernet cable to your laptop, ensure you have the essentials in hand. Procure a standard Ethernet cable in laptop with connectors on both ends, commonly available in various lengths to suit your setup. With this cable at your disposal, you're ready to optimize your laptop's connectivity.
Locate Your Laptop's Ethernet Port
The first step in connecting your laptop via Ethernet is to identify the Ethernet port on your device. These ports are typically situated on the sides or back of the laptop. Examine the physical design of your laptop to locate the port; it resembles a rectangular jack where the Ethernet cable can be securely inserted. This process works well on laptop with Ethernet port.
Connect the Ethernet Cable
With the Ethernet port identified, take the Ethernet cable’s one end. Then, firmly insert it into the port on your laptop. Ensure a secure connection, and you may hear a clicking sound, indicating that the cable is properly seated. This step establishes the physical link between your laptop and the wired network, setting the stage for a more stable and reliable internet connection. This is an ideal process on how to connect with an Ethernet cable.
Connect the Other End to the Router or Modem
Having secured one end of the Ethernet cable to your laptop, take the other and connect it to a compatible port on your router or modem. These devices typically have designated Ethernet ports labeled for easy identification. Once connected, your laptop should automatically detect the wired connection, and you'll be ready to experience the benefits of enhanced internet performance, particularly useful for bandwidth-intensive tasks like online gaming or video streaming.
Configuring Network Settings
To facilitate effective communication between devices, it’s essential to configure network settings correctly. You can choose between automatic setup, which is quick and easy, or manual setup for more control. We'll guide you through both methods to get the best network performance.
Automatic Configuration
When you select this mode, whether on a computer, laptop, or smartphone, your device will automatically configure itself by receiving important network settings straight from a DHCP server. These settings include key details like your IP address and DNS configuration. This effortless process is designed to simplify the setup process, making it a perfect option for users seeking a smooth and seamless experience. This mode is especially useful in environments with well-maintained and properly configured networks, guaranteeing a stress-free and uninterrupted connection for users on any device.
Manual Configuration
If you seek more control over their network settings or find yourself in situations where automatic configuration may not be available or ideal, manual configuration offers a tailored approach. In this mode, you will input specific network parameters, such as the IP address, subnet mask, gateway, and DNS server, manually into their device settings. This method allows for customization and is especially useful in scenarios where a static IP address is required or when troubleshooting network issues.
Additional Tips and Troubleshooting
To elevate your Ethernet connection to the next level, try incorporating troubleshooting tips. Here is some valuable knowledge on how to tackle any potential issues and improve the overall reliability of your laptop's wired connection.
• Use Different Ethernet Ports: Explore various Ethernet ports available on your router or switch. This can help identify if a particular port is experiencing issues and find a working alternative.
• Choose the Right Devices: Some laptops like HONOR MagicBook X 16 will enable you to have Ethernet connections through their USB-C ports using a USB-C to Ethernet adapter. That's because it provide key benefits like a slimmer and lighter design for enhanced portability. The versatile USB-C ports cater to a range of peripherals including USB-C to Ethernet adapters, ensuring connectivity options aren't limited. This design choice reflects a balance between maintaining a sleek, modern laptop form factor and offering the flexibility to connect to wired networks as needed.
Conclusion
Knowing how to connect laptop to Ethernet cable is not a complicated thing. By following the steps outlined in this guide, from physically connecting the cable to configuring network settings, you're now equipped to establish a stable and speedy connection like a pro. Mastering this whole process does not only provide you with a stable and reliable internet connection. It also opens the door to enhanced speed, security, and overall network performance, making it a valuable skill for optimizing your digital experience.
FAQ
Do all laptops have Ethernet ports?
Not all laptops come with built-in Ethernet ports; many modern ultrabooks and thin laptops prioritize portability and opt for thinner designs, omitting the Ethernet port to favor wireless connectivity.
Can I connect my laptop to Ethernet and Wi-Fi simultaneously?
Yes, most laptops allow simultaneous connections to both Ethernet and Wi-Fi networks, enabling users to benefit from the advantages of a wired connection while maintaining wireless connectivity for added flexibility.
What type of Ethernet cable do I need for my laptop?
The most common ethernet cable for laptop is the Cat 6 cable, offering reliable performance and compatibility with most modern devices; however, for higher data transfer speeds, Cat 6a or Cat 7 cables may be preferable.
Source: HONOR Club
Products Recommend
Latest Blogs