TOP

我的荣耀 开启荣耀之旅
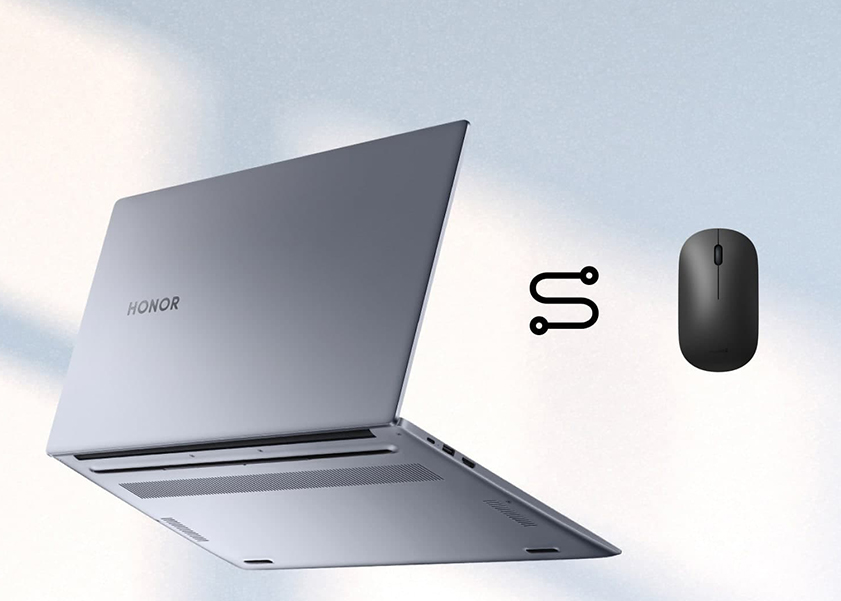
How to Connect Wireless Mouse to Laptop: Complete Guide
Wireless technology is convenient especially in today’s fast-paced world, notably with external devices such as a mouse. Learning how to connect wireless mouse to laptop will be helpful if you want to de-clutter the workstation at home. In this article, we will provide a comprehensive guide on how to connect a wireless mouse to a laptop, aiming to simplify the process and ensure you can effortlessly integrate this essential peripheral into your workspace.
How to Connect a Wireless Mouse to Laptop?
To connect a wireless mouse to your laptop, you'll need to follow a series of simple yet specific steps. These steps can slightly vary depending on whether your mouse uses a dedicated USB receiver or if it comes with Bluetooth technology. Here's an expanded guide to help you through the process:
How to Connect Wireless Mouse to Laptop with USB Receiver?
The process of connecting a wireless mouse to your laptop with a USB receiver is simple. Follow these in-depth steps:
1. Locate the USB Receiver: The primary task is finding a USB receiver that might be located inside the mouse or packaged within it.
2. Insert the USB Receiver: Insert the USB receiver onto a USB socket in your laptop. You should use the laptop’s port instead of a USB hub.
3. Turn On the Mouse: Search for the power switch located at the bottom of the mouse. Turn it on.
4. Install Any Necessary Drivers: Your laptop should automatically detect the mouse and install any required drivers. You might see a notification once the mouse is ready to use.
5. Test the Connection: Move the mouse to see if the cursor responds. If everything is working, you’ve successfully connected your mouse.
If the mouse doesn’t work, check the batteries and ensure the mouse is within range of the receiver.
How to Connect Wireless Mouse to Laptop Without USB Receiver?
If your mouse and laptop support Bluetooth, you can connect a wireless mouse to your laptop without a USB receiver. Here’s how:
1. Activate Bluetooth on Your Laptop: Go to your laptop’s Bluetooth settings and turn it on.
2. Set the Mouse to Pairing Mode: Turn on the mouse and put it into pairing mode, usually by holding down a button until a light blinks.
3. Pair the Mouse: In the Bluetooth settings on your laptop, select “Add Bluetooth or other device” and choose your mouse from the list.
4. Complete the Pairing Process: Follow any prompts to finish pairing. Once connected, the mouse should be ready to use.
Why Won’t Wireless Mouse Connect to Laptop?
Sometimes, you might face issues when trying to connect a wireless mouse to your laptop. Here are some troubleshooting tips:
✓ Check the Batteries: Ensure the mouse’s batteries are fresh and properly installed.
✓ Restart the Mouse: Turn the mouse off and on again to reset its connection.
✓ Stay Within Range: Make sure the mouse is close enough to the laptop to maintain a connection.
✓ Try Different USB Ports: If you’re using a USB receiver, try plugging it into a different port.
✓ Restart Your Laptop: A reboot can sometimes fix connectivity issues.
✓ Remove Interference: Keep other electronic devices away from the mouse and receiver to avoid signal disruption.
✓ Update Drivers: Ensure that you have updated your laptop’s drivers, especially for the mouse and USB ports.
By following these steps, you should be able to troubleshoot and resolve most issues related to connecting a wireless mouse to your laptop.
Tips for Connecting a Wireless Mouse to Laptop
Now that we've covered the basic steps for connecting a wireless mouse to your laptop, it's helpful to delve into some tips that can enhance this process and ensure a smooth, hassle-free experience:
● Pre-Connection Check: Update your laptop’s operating system before connecting your laptop. Also, the wireless mouse should be updated before connecting to avoid compatibility problems associated with the laptop's operation.
● Understanding Mouse Modes: Some wireless mice have a switch to toggle between Bluetooth and RF mode. Make sure it’s set to the correct mode for your connection type.
● Optimal USB Port Selection: For mice with USB receivers, use a USB port on your laptop rather than a hub for a more stable connection.
● Battery Optimization: To conserve battery life, turn off your wireless mouse when not in use, especially if it doesn’t have an auto-sleep feature.
● Custom Software: Install any custom software provided by the mouse manufacturer to unlock additional features and customization options.
● Interference Awareness: Keep other wireless devices away from your mouse and receiver to minimize interference and ensure a smooth connection.
● Pairing Process: For Bluetooth connections, make sure the mouse is in pairing mode, indicated by a blinking light, before starting the pairing process on your laptop.
● Connection Confirmation: After connecting, look for a confirmation notification or check your device settings to ensure the mouse is listed as connected.
● Troubleshooting: If the connection fails, try removing the device from your laptop’s Bluetooth list and start the pairing process again.
● Surface Compatibility: Use a mouse pad or a surface with texture to ensure optimal tracking, as some sensors may not work well on reflective or transparent surfaces.
Following these tips for connecting a wireless mouse to your laptop can greatly enhance your user experience, especially with laptops designed for optimal connectivity, like the HONOR MagicBook 15. Its array of modern ports and efficient Bluetooth capabilities simplifies the process of connecting various peripherals, including wireless mice. The MagicBook 15's design ensures that pairing a Bluetooth mouse is quick and effortless, helping you maintain a tidy and efficient workspace.
Conclusion
In conclusion, connecting a wireless mouse to your laptop, whether it's via Bluetooth or a USB receiver, is a straightforward process that can significantly improve your computing experience. By following the simple steps outlined and utilizing the helpful tips provided, you can ensure a quick and hassle-free setup. With devices like the HONOR MagicBook 15, which are designed for seamless peripheral connectivity, integrating a wireless mouse into your workflow becomes even more effortless, enhancing both your productivity and comfort.
FAQ
Why won’t my laptop find my mouse?
If your laptop can’t find your mouse, ensure the mouse’s batteries are charged and it’s turned on. If using Bluetooth, verify that the mouse is in pairing mode.
How do I get my computer to recognize a new wireless mouse?
To get your computer to recognize a new wireless mouse, insert the USB receiver into a USB port or pair the mouse via Bluetooth in your computer’s settings.
Why is my Bluetooth mouse not pairing?
If your Bluetooth mouse is not pairing, it could be due to several reasons: the mouse may not be in pairing mode, your computer's Bluetooth might be turned off or not functioning properly, the mouse batteries could be low, or there might be interference from other wireless devices. Ensure all settings are correct and try restarting both your mouse and computer.
Source: HONOR Club
We use cookies and similar technologies to make our website work efficiently, as well as to analyze our website traffic and for advertising purposes.
By clicking on "Accept all cookies" you allow the storage of cookies on your device. For more information, take a look at our Cookie Policy.
Functional cookies are used to improve functionality and personalization, such as when playing videos or during live chats.
Analytical cookies provide information on how this site is used. This improves the user experience. The data collected is aggregated and made anonymous.
Advertising cookies provide information about user interactions with HONOR content. This helps us better understand the effectiveness of the content of our emails and our website.


