


我的荣耀 开启荣耀之旅
How to Shoot Milky Way with Smartphone?
Are you looking to take your night sky photography up a notch? Imagine vents of the Milky Way splashed across the inky darkness, creating an unforgettable scene for all who witness it. Capturing this grandeur is simpler than you may think with just a smartphone and some helpful tips from our guide! If you’ve ever longed to capture the stunning beauty of the Milky Way with your phone, then follow us as we discuss essential astrophotography gear, helpful techniques, and most importantly – step-by-step instructions on how to shoot Milky Way with smartphone. Let's get started!
Essential Equipment for Shooting the Milky Way
Before we delve into how to shoot the Milky Way, ensure you have the right tools in your astrophotography arsenal.
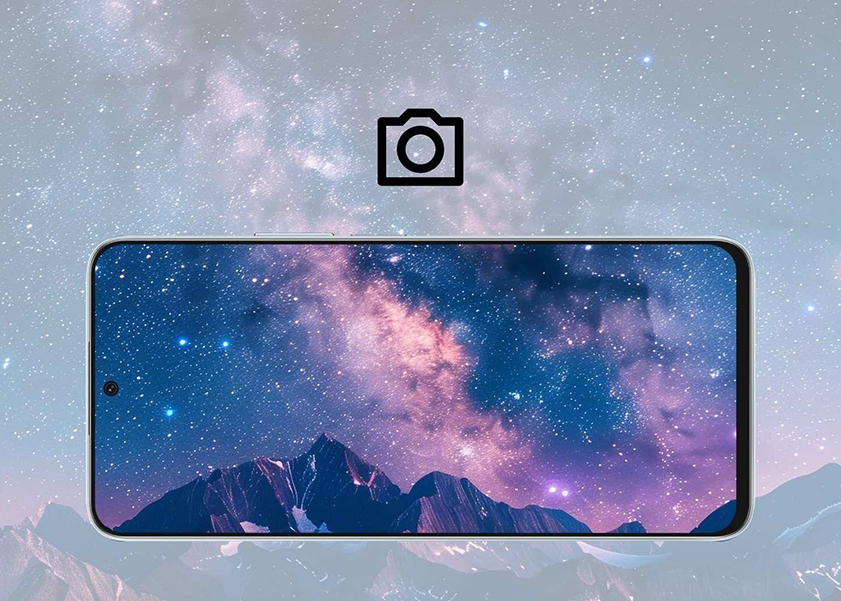
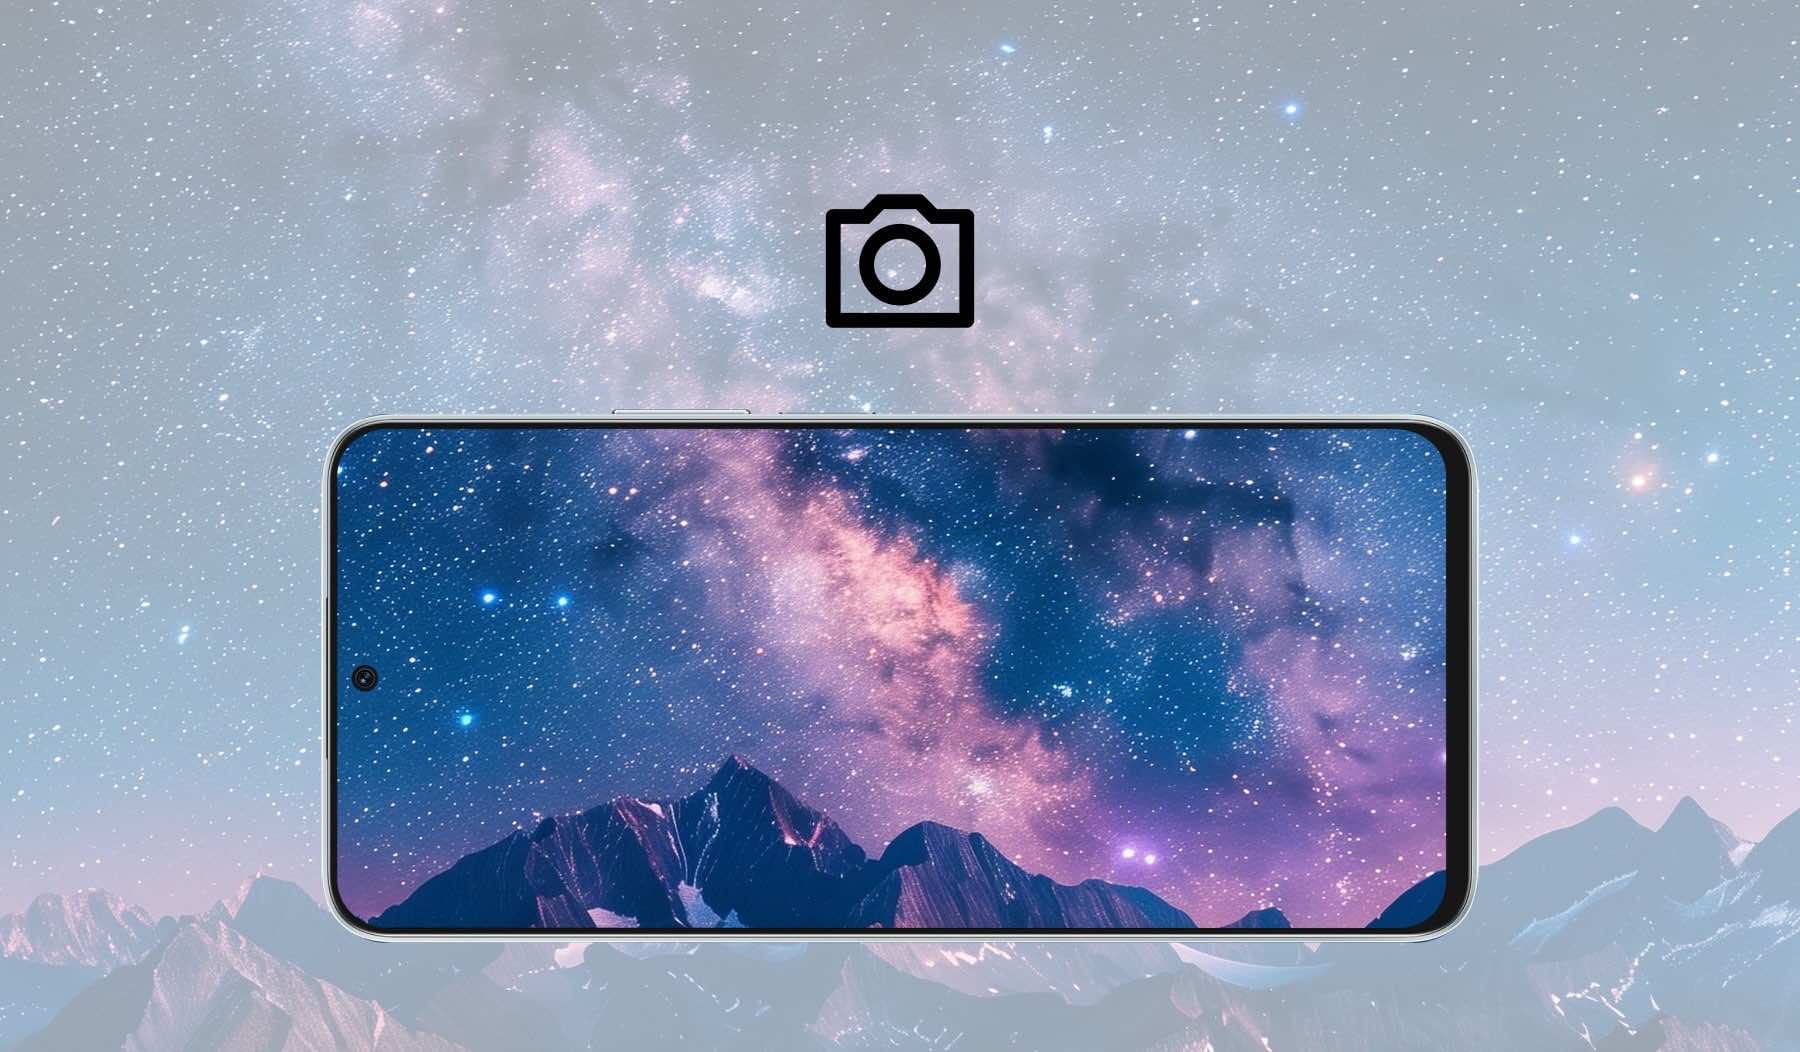
1. Smartphone: Ensure your phone boasts a decent camera for capturing celestial wonders. It's best to use a phone with a high-end sensor like HONOR Magic5 Pro offers optimal results.
2. Sturdy Semi-Professional Tripod: Stability is key for long-exposure shots, and a reliable tripod is your steadfast companion.
3. Remote Shutter: Minimize camera shake and ensure sharp images with a remote shutter.
4. Power Bank or Extra Battery: Long-exposure photos can drain your battery, so pack extra power to last through the night.
5. Microfiber Cloth: Keep your smartphone lens pristine for clear and captivating shots.
These essential tools form the foundation for capturing stunning Milky Way photos with your smartphone.
Settings for Shooting Milky Way Using Your Smartphone

To take picture of Milky Way with phone, there are some key settings you need to typically adjust:
Shutter Speed (Long Exposure)
Use a longer exposure time to allow more light to reach the camera sensor. A recommended range for shutter speed is between 30 to 60 seconds, allowing you to capture the soft and delicate nuances of the Milky Way.
Set ISO
Even though a higher ISO value, typically ranging from 1600 to 3200, is necessary, you still need to lower it. The higher ISO enhances the brightness of stars and lights in the Milky Way; however, it also leads to a greater presence of undesirable noise and pixels in the image.
Disable Flash Function
The flash is not useful for capturing the Milky Way and can actually be detrimental. It's essential to disable the flash to avoid unwanted light in your shot.
Shoot RAW Images
If your smartphone supports it, shooting in RAW format provides more flexibility in post-processing. RAW files contain more information, allowing for better adjustments to exposure, white balance, and other settings during editing.
These settings can serve as a starting point, and you may need to experiment and make adjustments based on the specific conditions of your location and the capabilities of your smartphone camera.
Steps by Step Guide to Shoot the Milky Way with Your Phone
Capturing the Milky Way with your smartphone involves careful consideration of settings, location, and technique. Here's a step-by-step guide to help you achieve stunning results:
1. Choose the Right Location: Find a location away from light pollution. National parks, rural areas, or high elevations with clear skies are ideal.
2. Plan the Timing: Check the moon phase and plan your shoot during a new moon or when the moon is below the horizon to avoid excessive light that may wash out the stars.
3. Use a Sturdy Tripod: Stability is crucial for long-exposure shots. Use a tripod to keep your phone steady during the capture.
4. Set Up Your Smartphone: Mount your smartphone securely on the tripod. If your phone has a manual mode or a dedicated night mode, use it for more control over settings.
5. Adjust Focus to Infinity: Set the focus manually to infinity. This ensures the stars and the Milky Way are in focus. Experiment with your phone's focus settings to find the most accurate infinity setting.
6. Turn Off Flash: Disable the flash to prevent unwanted light in your shot. Night sky photography relies on natural light.
7. Adjust ISO Setting: Start with a low ISO to minimize noise. Increase it if needed.
8. Select a Long Shutter Speed: Set a longer shutter speed to allow more light to reach the sensor. Start with 15-30 seconds and adjust as needed. Be mindful of star trails; aim to capture stars as points of light.
9. Shoot in RAW: If your phone supports RAW capture, use it for more flexibility in post-processing.
10. Experiment and Review: Take multiple shots with different settings to experiment and find the best combination. Review your images on the spot to make immediate adjustments if needed.
11. Post-Processing: After capturing your shots, use photo editing apps or software to enhance details, reduce noise, and fine-tune the overall look of your Milky Way photos.

To photograph the Milky Way with a phone requires patience, practice, and attention to detail. And for an even more enhanced mobile photography experience, consider exploring the capabilities of the HONOR Magic5 Pro. It excels in Milky Way photography with its 50MP Wide Camera featuring a large f/1.6 aperture and Optical Image Stabilization, ideal for low-light conditions. Its high image resolution and specialized night shot and Pro modes enable detailed, stable captures of the night sky, making it perfect for astrophotography.
Conclusion
In conclusion, capturing the Milky Way with a smartphone is not only possible but can yield stunning results with the right techniques and settings. This guide has walked you through essential steps. The key lies in maximizing your smartphone's capabilities. Remember, patience and practice are crucial, as is finding the perfect location away from light pollution. With persistence and creativity, your smartphone can unlock the majestic beauty of the Milky Way, turning the night sky into your personal canvas.
FAQ
What’s the Best Time to Capture the Milky Way with My Smartphone?
The best time to photograph the Milky Way is during the Milky Way season, typically from late February to early October. Aim for moonless nights to ensure optimal darkness.
What Is the Rule for the Milky Way Photo?
For stunning Milky Way photos, choose a clear, moonless night, find a location with minimal light pollution, and use a sturdy tripod with a remote shutter for stability.
What’s the Best Focal Length to Shoot the Milky Way?
The best focal length for shooting the Milky Way varies depending on your equipment. For DSLR or mirrorless cameras, a wide-angle lens, typically between 18mm and 24mm, is ideal for capturing the vast expanse of the night sky. In the case of smartphones, a device with a wide or ultra-wide camera, equivalent to about 12mm to 16mm in traditional camera terms, is preferable for encompassing the sprawling Milky Way in a single frame.
Source: HONOR Club
Products Recommend

Latest Blogs
SUBSCRIPTION
I agree to receive the latest offers and information on HONOR products through email or IM (e.g. WhatsApp) provided below and advertisement on third-party platforms. I understand that I can unsubscribe anytime according to Chapter 5 of HONOR Platform Privacy Statement.
CONTACT
