TOP

我的荣耀 开启荣耀之旅
To log in to your account, you must first agree to the HONOR PLATFORM TERMS OF USE and HONOR Platform Privacy Statement. If you do not agree, you may only browse the site as a guest.
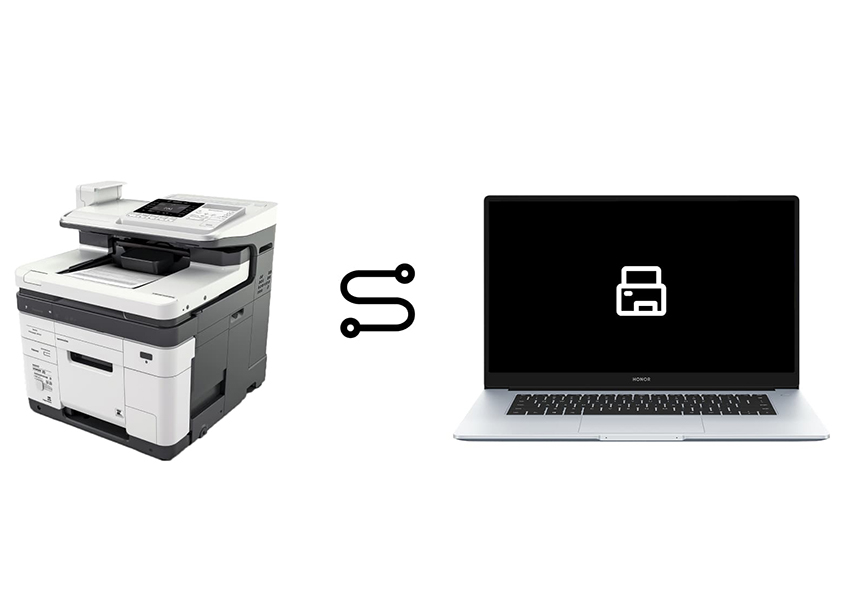
A Comprehensive Guide on How to Connect Printer to Laptop for Effortless Printing Integration
A laptop's ability to connect to a printer is a necessary capability in the digital age. Knowing how to set up and connect your computer to your laptop can greatly increase your productivity, regardless of whether you work from home, in an office, or are a student in need of printed copies of your assignments.
This comprehensive guide will walk you through every stage on how to connect printer to laptop, making it an easy chore that anyone with any level of technical knowledge can complete.
How to Connect a Printer to Your Laptop?
Connecting your printer to your laptop is a fundamental process, offering convenience for various printing needs. Let’s explore two primary methods: using a cable and establishing a wireless connection.
Connect Printer to Laptop through USB Connection
Learning how to connect a printer to a laptop with a cable is straightforward and often the most reliable method. Using a standard USB cable, this connection type ensures a stable link between your laptop and the printer, making it ideal for quick and easy printing tasks.
Step 1: Access Your Windows Settings
To access Windows Settings, click the Start menu, then the gear-shaped icon labeled “Settings” typically located on the left side. Settings is the central hub for configuring various aspects of your computer.
Step 2: Navigate to Devices
Within the Settings menu, locate and click on the “Devices” option. This section encompasses settings related to hardware devices connected to your computer, including printers. Here, you can manage and customize your printer preferences, troubleshoot issues, and set up new devices seamlessly.
Step 3: Connect Your Printer
Click on the “Printers & scanners” tab to access printer-related settings. Connect your printer by selecting the “Add a printer or scanner” option, allowing Windows to search for and recognize your printer. Follow on-screen prompts to complete the connection process, ensuring proper installation and functionality.
Connect Printer to Laptop through Wi-Fi Connection
Discover how to connect a laptop to a printer wirelessly using a Wi-Fi connection. This method simplifies printing tasks by enabling you to send documents to your printer from anywhere in your Wi-Fi network's range. Follow these easy steps to establish a wireless connection between your laptop and printer.
Step 1: Find your settings.
You can manage different parameters on your laptop by accessing the settings by browsing to the Start menu.
Step 2: Link Your Wi-Fi Network
Access the "Network & Internet" section within Settings. Choose "Wi-Fi" to view available networks. Connect to your Wi-Fi by selecting your network, entering the password, and clicking "Connect." This ensures your device is wirelessly connected to the internet.
Step 3: Complete Connectivity
Confirm your device is connected to the internet. This step ensures a stable connection for subsequent processes, such as printer setup.
Step 4: Locate Your Printer Settings
Within Settings, navigate to "Devices" and select "Printers & scanners." This area allows you to manage printer configurations and connections.
Step 5: Make Sure the Printer and Computer Are Connected
To begin the printer configuration procedure, click "Add a printer or scanner". The system will look for printers that are available. Once your printer has been identified, choose it and adhere to the prompts on the screen to successfully connect it to your computer. This guarantees flawless printing performance.
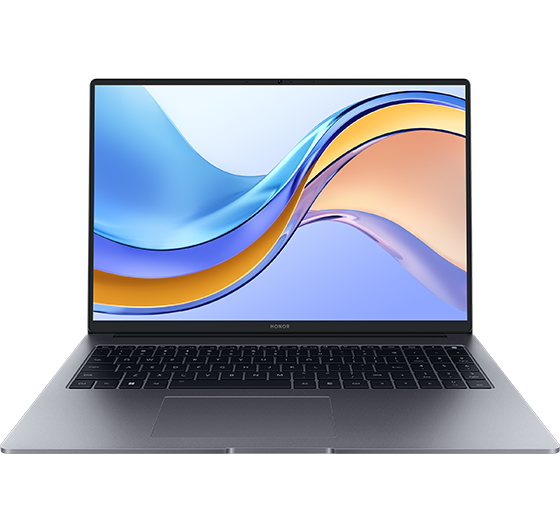
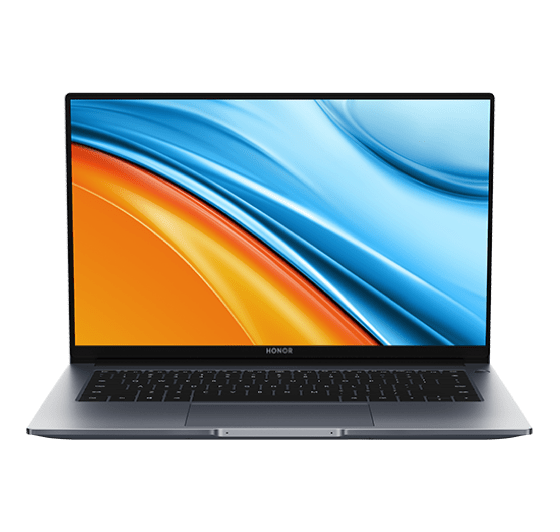
When using a laptop like the HONOR MagicBook 15, the process of connecting to a printer wirelessly is further enhanced. The HONOR MagicBook 15 offers a prime example with its convenient, cable-free Wi-Fi printing. Boasting a 2X2 MIMO dual antenna and supporting 2.4 GHz/5 GHz dual bands for enhanced bandwidth, it ensures a robust connection to Wi-Fi printers. Additionally, when used with a Wi-Fi 6 phone, it facilitates efficient multi-screen file transfers, optimizing your wireless printing tasks.
Troubleshooting Common Printer Connectivity Issues with Laptop
Troubleshooting printer connectivity issues with a laptop involves identifying and resolving problems that may prevent the two devices from communicating effectively. Here are some common steps to help you troubleshoot printer connectivity issues:
✓ Check Physical Connections:
o Ensure that the printer is properly connected to the power source and turned on.
o Verify that the USB or Ethernet cable connecting the printer to the laptop is securely plugged in at both ends.
✓ Check Wireless Connection:
o If you're using a wireless printer, make sure it is connected to the same Wi-Fi network as your laptop.
o Verify that the wireless signal is strong and stable.
✓ Restart Devices:
o Restart both the printer and the laptop to refresh their settings.
✓ Printer Status:
o Check the printer's display panel or LED indicators for any error messages or warnings.
✓ Clear Printer Queue:
o Clear the print queue on your laptop. In Windows, go to "Devices and Printers," right-click on the printer, and select "See what's printing" to clear the queue. On a Mac, go to the "Printers & Scanners" section in System Preferences and select the printer, then click on the "Open Print Queue" button to clear the queue.
✓ Update Printer Drivers:
o Ensure that you have the latest printer drivers installed on your laptop. Visit the printer manufacturer's website to download and install the latest drivers.
✓ Firewall/Antivirus Software:
o Temporarily disable firewall or antivirus software on your laptop to check if they are blocking the connection. If the printer works after disabling these programs, adjust the settings to allow printer communication.
✓ Reinstall Printer:
o Remove the printer from your laptop's list of installed printers and reinstall it. Follow the printer manufacturer's instructions for proper installation.
✓ Check for Software Conflicts:
o Certain software applications or background processes may interfere with printer communication. Try printing after closing unnecessary applications.
✓ Run Troubleshooters:
o Both Windows and macOS have built-in troubleshooters for printers. Use these tools to automatically detect and fix common issues.
✓ Check Compatibility:
o Ensure that your printer is compatible with your operating system. Some older printers may not have drivers for newer operating systems.
Conclusion
Ensuring a seamless connection between your laptop and printer is crucial for efficient and hassle-free printing. In this guide, we've explored the straightforward process on how to connect printer to laptop whether through a physical cable or a wireless setup. By understanding and following these steps, you can establish a harmonious connection that enhances your overall printing experience.
FAQ
How do I know if my printer is connected to my laptop?
Check the printer's status on your laptop in the "Devices and Printers" section. Additionally, try printing a test page or document to confirm the connection.
Will a printer work without being connected to a laptop?
Yes, some printers offer standalone functionality, allowing you to print directly from a memory card, USB drive, or the printer's internal memory. However, connecting a printer to a laptop expands printing options and enables additional features.
How do I connect my printer to my laptop without software?
To connect a printer to your laptop without software, use a USB cable or connect both devices to the same Wi-Fi network. Then, go to your laptop's 'Devices and Printers' settings, select 'Add a printer', and follow the on-screen instructions.
Source: HONOR Club
SUBSCRIPTION
I agree to receive the latest offers and information on HONOR products through email or IM (e.g. WhatsApp) provided below and advertisement on third-party platforms. I understand that I can unsubscribe anytime according to Chapter 5 of HONOR Platform Privacy Statement.
CONTACT
Honor Technology (Malaysia) Sdn Bhd
(Registration No.: 202101003804)
1800-88-5645
9:00 AM - 6:00 PM
Copyright © Honor Device Co., Ltd. 2020-2025. All rights reserved.
We use cookies and similar technologies to make our website work efficiently, as well as to analyze our website traffic and for advertising purposes.
By clicking on "Accept all cookies" you allow the storage of cookies on your device. For more information, take a look at our Cookie Policy.
Functional cookies are used to improve functionality and personalization, such as when playing videos or during live chats.
Analytical cookies provide information on how this site is used. This improves the user experience. The data collected is aggregated and made anonymous.
Advertising cookies provide information about user interactions with HONOR content. This helps us better understand the effectiveness of the content of our emails and our website.


